Object Detection Guide
This guide walks you through creating and training an object detection model using AnyLearning. Object detection is a computer vision task that involves both localizing and classifying objects within images. For example, you might want to detect safety equipment like helmets and safety jackets in construction site images to ensure workplace safety compliance.
🚀 Step 1: Create a Project
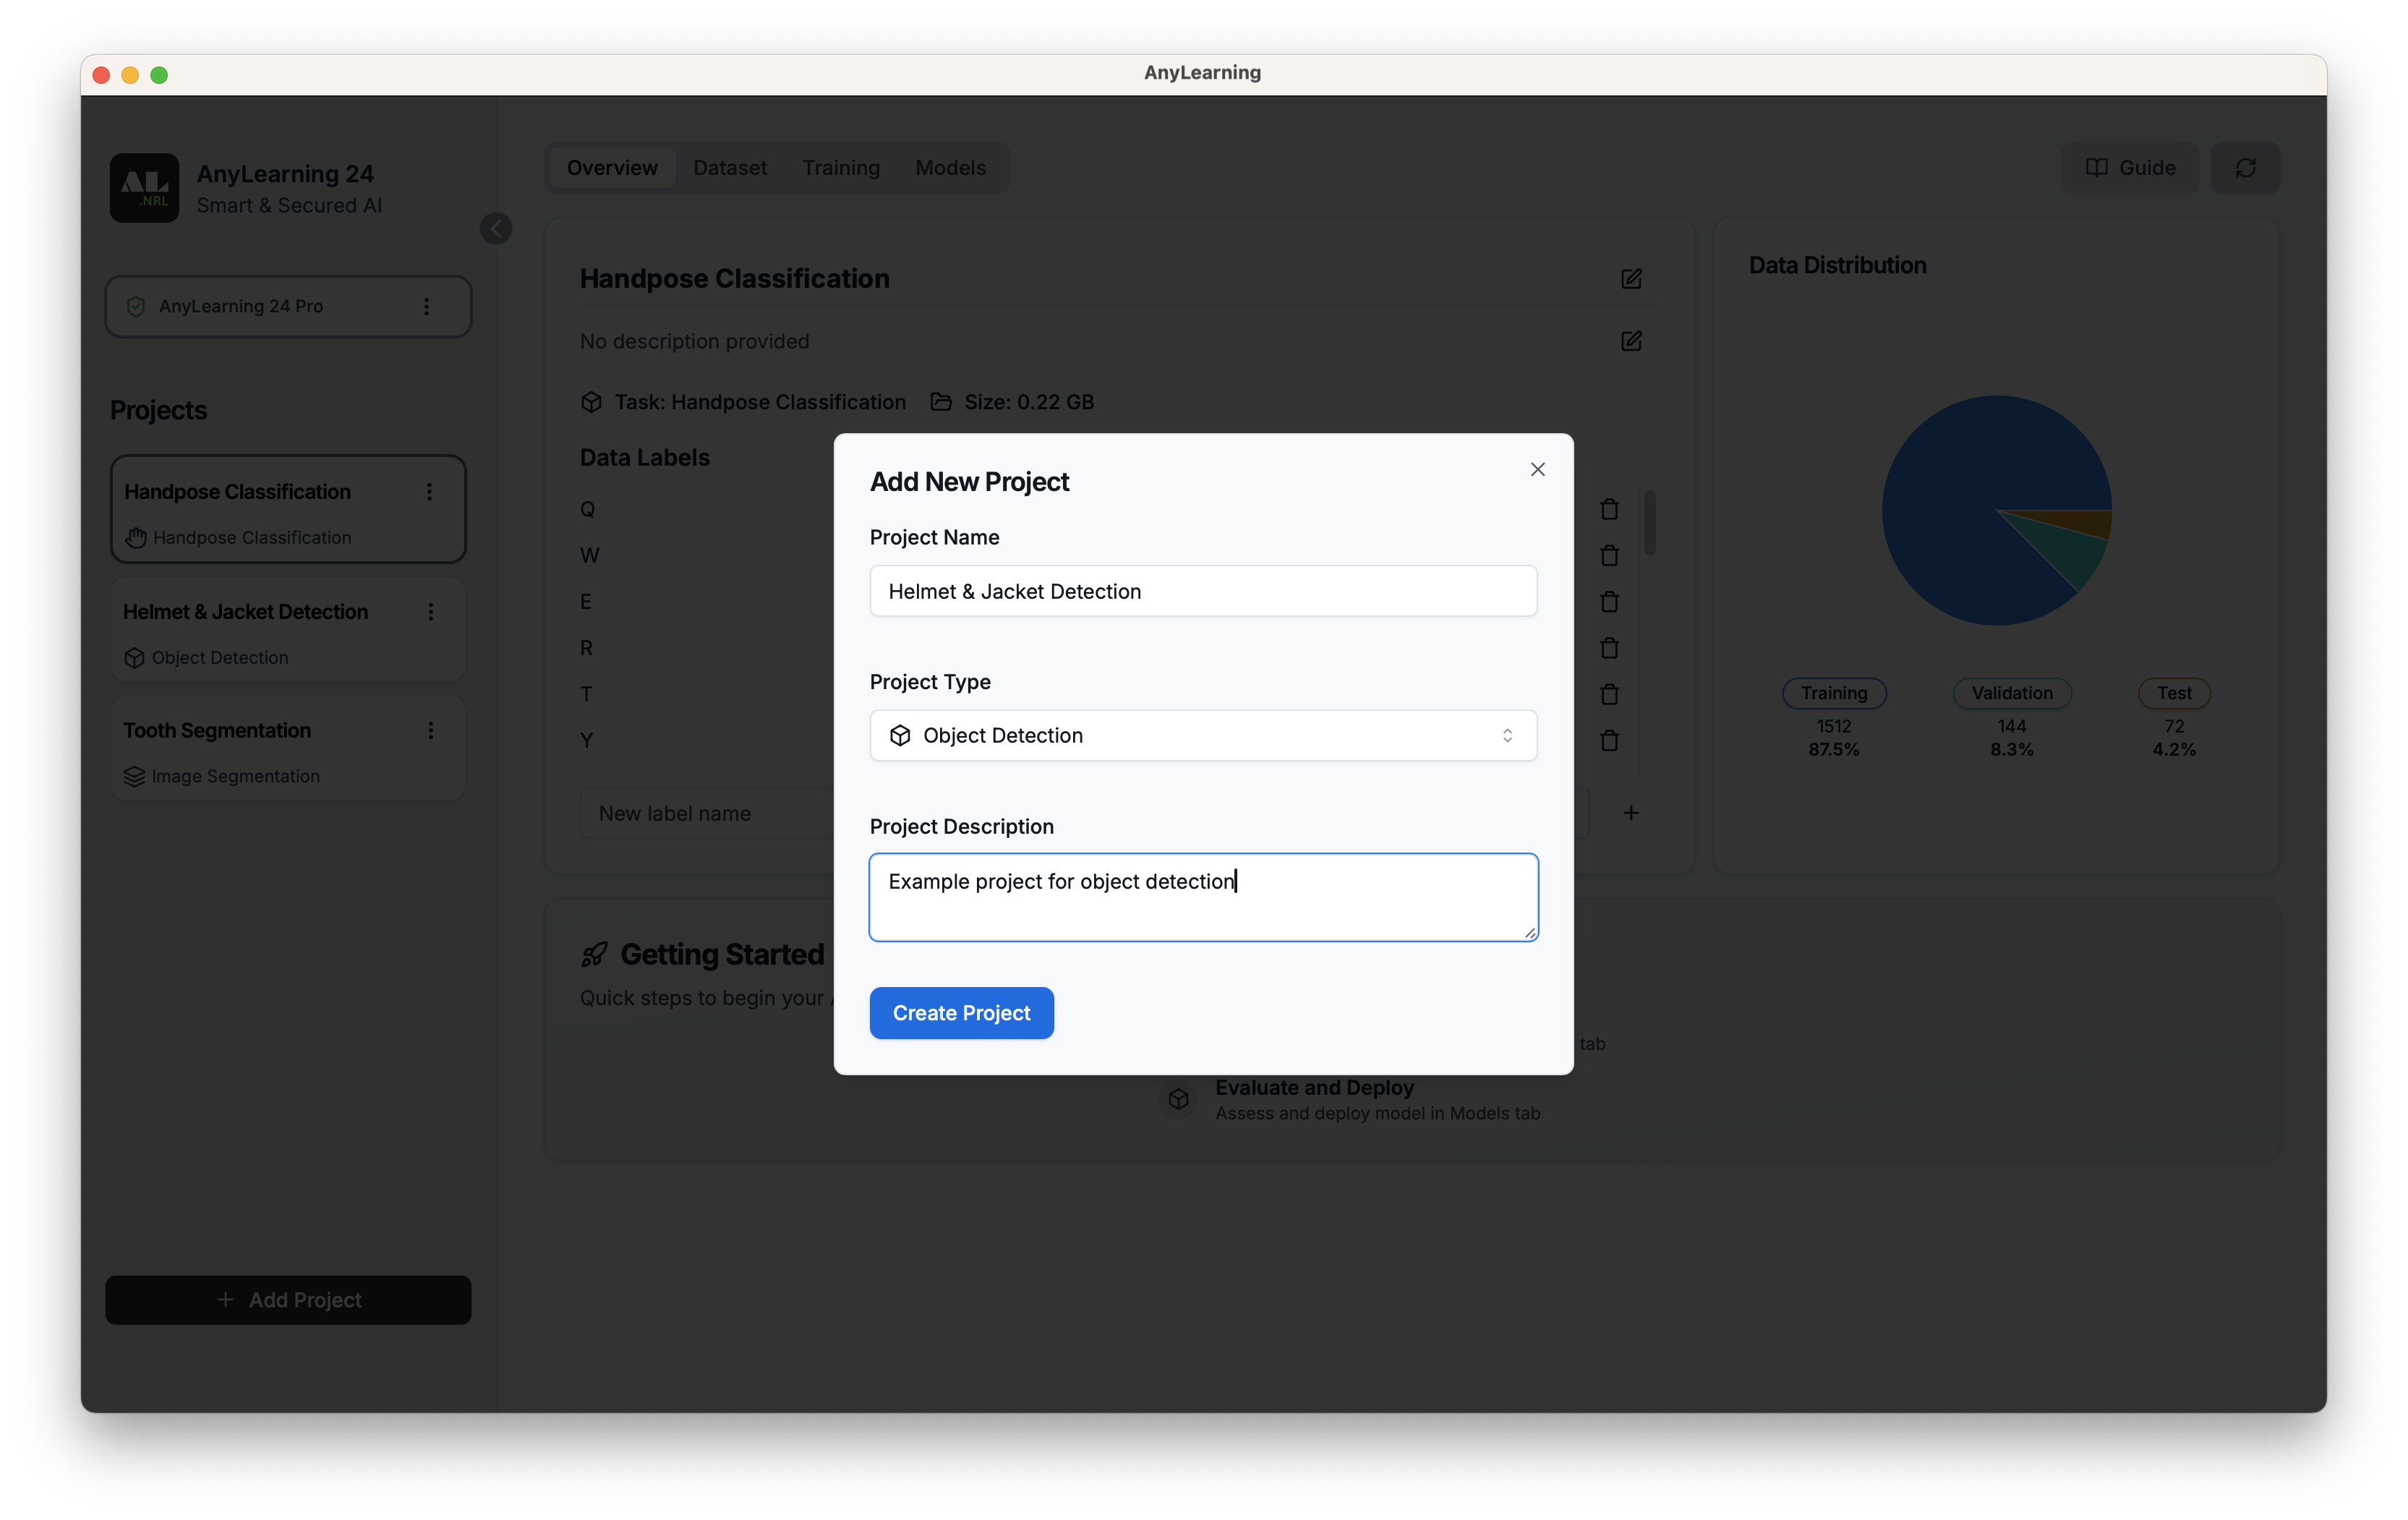
First, create a new project specifically for object detection:
- Click on "New Project" button
- Select "Object Detection" as the project type
- Give your project a meaningful name and description

📊 Step 2: Data Preparation
🏷️ 2.1. Create the Label Set
The label set defines all possible object classes that your model will learn to detect. For our safety equipment detection example, your classes might be safety_helmet and reflective_jacket.
To create your label set:
- Navigate to the "Overview" tab
- Enter each object class name individually in the input field
- Click "+" after each class name
- Ensure class names are descriptive and consistent

📁 2.2. Upload the Datasets
Go to the "Dataset" tab to manage your datasets.
For effective model training, you need to split your data into three sets:
- Training set: The largest portion (typically 70-80%) used to train the model
- Validation set: A smaller portion (typically 10-15%) used to tune hyperparameters and prevent overfitting
- Test set: The remaining portion (typically 10-15%) used to evaluate the final model performance

Upload Process:
- Navigate to the "Dataset" tab
- Compress each main folder (training, validation, test) into separate zip files
- Use the respective upload buttons for each set
- Wait for the upload and verification process to complete
Trial Dataset: We prepared a trial dataset for you to get started. You can download it from here (opens in a new tab).
💡 Important: Use different images for training, validation, and testing to ensure accurate model evaluation.
🏷️ 2.3. Label the Data
After uploading your datasets, you'll need to label the objects in your images:
- Click the "Label Now" button on the dataset tab
- Use the bounding box tool to draw boxes around objects
- Select the appropriate class label for each box
- Repeat for all images in your dataset

Labeling Tips:
- Draw tight bounding boxes around objects
- Be consistent in your labeling approach
- Label all instances of objects in each image
- Use keyboard shortcuts to speed up labeling
- Take breaks to maintain labeling quality
💡 Pro Tip: For large datasets, consider dividing the labeling work among team members to speed up the process while maintaining consistency.
🔧 Step 3: Model Training
Training Configuration:
- Go to the "Training" tab
- Click "New Training Session"
- Configure the following hyperparameters:
Batch size: Number of images processed together (typically 8 or 16)Learning rate: Controls how much the model adjusts its weights (typically 0.001)Epochs: How many times the model will see the entire datasetModel Variant: Choose the model architecture (e.g., YOLO, Faster R-CNN)Pretrained: Choose default or fine-tune from a pre-trained model
- Click "Start Training" to begin the process

Monitor Training Progress:
- View all training sessions in the "Training" tab
- Click on any session to see detailed information

Training Metrics and Logs:
- 📈 Monitor loss values (classification and localization losses)
- ✅ Check mAP (mean Average Precision) metrics
- 📝 View training logs for detailed progress information
- ⚠️ Watch for signs of overfitting (validation metrics getting worse)

🧪 Step 4: Test the Trained Model
After training completes, validate your model's performance:
- Go to the "Model" tab
- Click the "Try" button
- Upload test images that weren't used in training
- Analyze the model's predictions

The model will display bounding boxes around detected objects along with class labels and confidence scores:

📦 Step 5: Export the model and use with your code
Click on the download button to download the trained model. You can choose the raw Pytorch model or its ONNX conversion. The inference code is shown below.

Use the source code from Object Detection Example (opens in a new tab) to run the model.